AR Photographers Want to Travel Light! Three Tips for Shooting Comfortably with Just a Smartphone
This article is a translated version of my original post on Qiita. Original (Japanese): https://qiita.com/segur/items/4fab8955a1bc473cad5f
AR Photographers Want to Travel Light! Three Tips for Shooting Comfortably with Just a Smartphone
Hello, I'm Segyu, an AR engineer. I usually work on AR app development and AR content creation, and I also create AR works as a hobby.
Here's an example of an AR project I made as a hobby:
https://x.com/segur_vita/status/1853757150214173173
When I'm traveling and find a spot that seems interesting for AR composition, I often make a project quickly at a cafe and manage to shoot it on the spot the same day.
AR Photography is Typically Done Outside!
Augmented Reality (AR) involves overlaying computer-generated images on the real world. This means it's a process that often requires on-location shooting, unlike tasks that can be completed entirely at home or in an office.
However, shooting outdoors has its challenges, particularly in terms of environmental constraints:
- Accessing power sources can be difficult
- Fast internet connections are not always available
- Carrying a lot of equipment can be impractical
As a result, completing shoots using only a smartphone becomes increasingly efficient. Based on my experience as an AR photographer on outdoor shoots, I'll introduce some useful tools and techniques.
1. Image Stabilization Tools
Most AR apps do not include built-in image stabilization. Unlike the automatic stabilization you might find in the default iPhone camera, you can't rely on it here.
Hardware Stabilization (Gimbal)
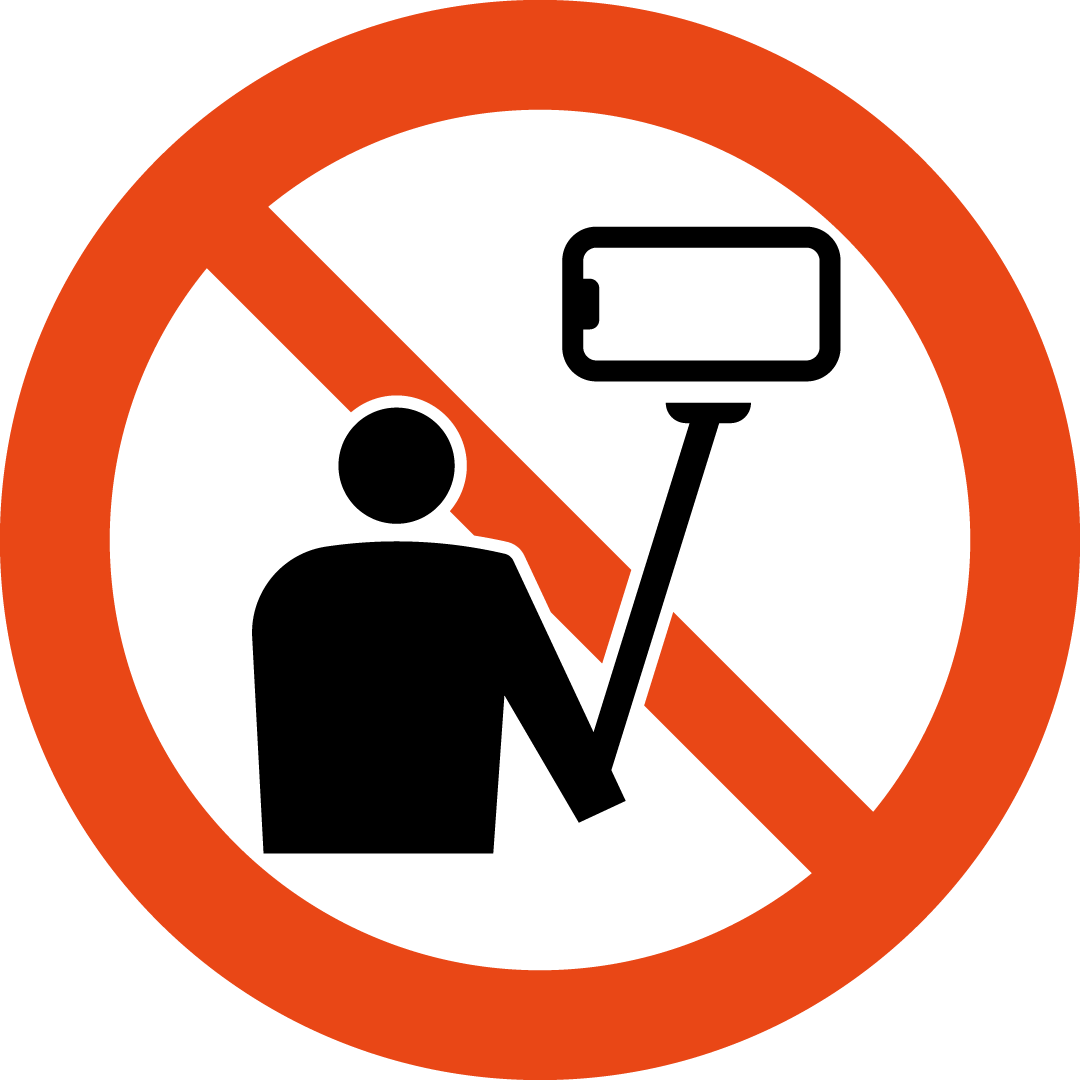
Using a gimbal is the best way to counteract physical camera shakes, but in many tourist spots where selfie sticks are prohibited, you can't use them.
Moreover, carrying a gimbal adds to your baggage, and it can run out of battery by the end of the day, rendering it unusable.
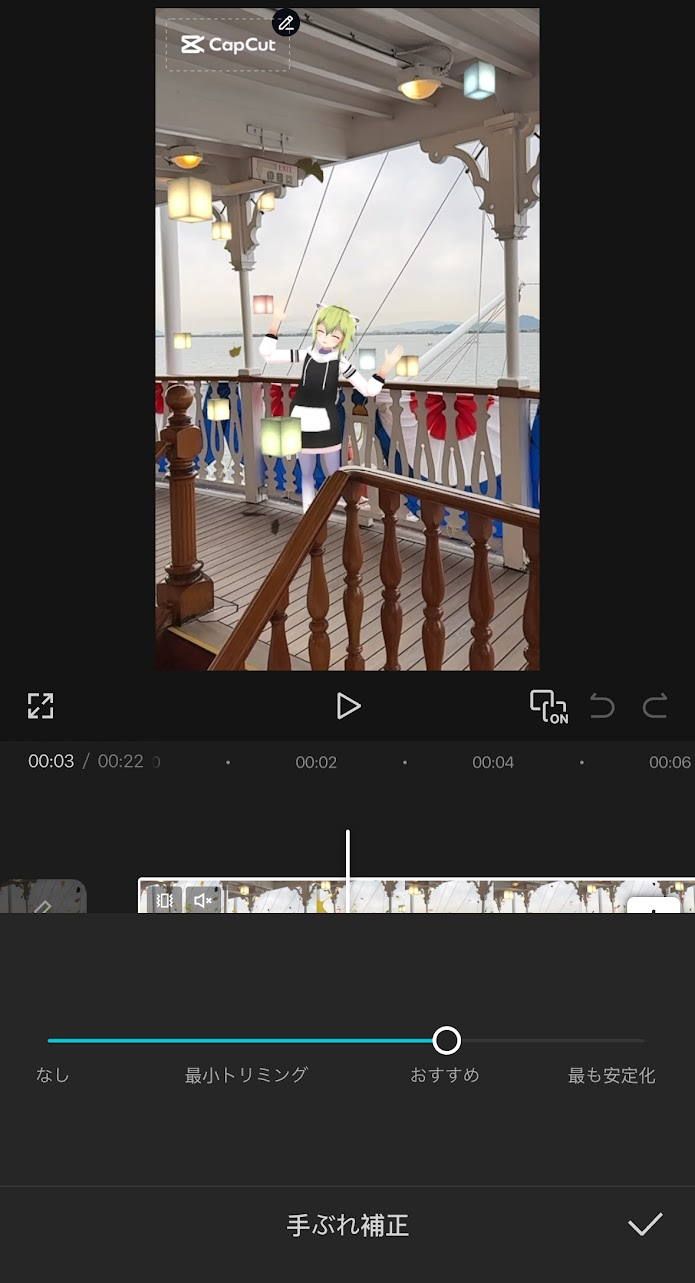
Smartphone App Stabilization
Here, software-based stabilization becomes handy. Apps like "CapCut" offer stabilization features (for a fee). Being a mobile app, it eliminates the need for a computer. You can stabilize footage right after shooting, making it a strong ally when you want to post on X the same day.
PC Software Stabilization
The standard "iMovie" on macOS also supports stabilization (free).
https://support.apple.com/ja-jp/guide/imovie/mov52b5a78a6/mac
There should be similar tools available for Windows, so try finding one that matches your environment.
2. Rental Bicycles
When visiting multiple shooting locations, you might want to re-shoot at the first location. This is something that definitely happens.
Walking back and forth can be tiring and time-consuming. In such cases, having access to rental bicycles makes traveling between spots easy and convenient.
Preparation is Key!
Rental bicycle services vary by region. Before travel or business trips, make sure to do the following:
- Install the app
- Register as a member and register your credit card
- Check service areas and bicycle ports
Handling these tasks locally can waste valuable time, often with issues like credit card errors eating into precious shooting hours.
3. Organizing Shooting Data
When visiting multiple locations, your smartphone quickly fills up with photos and videos. Days later, when editing, you might find yourself asking, "Where did I take this photo?"
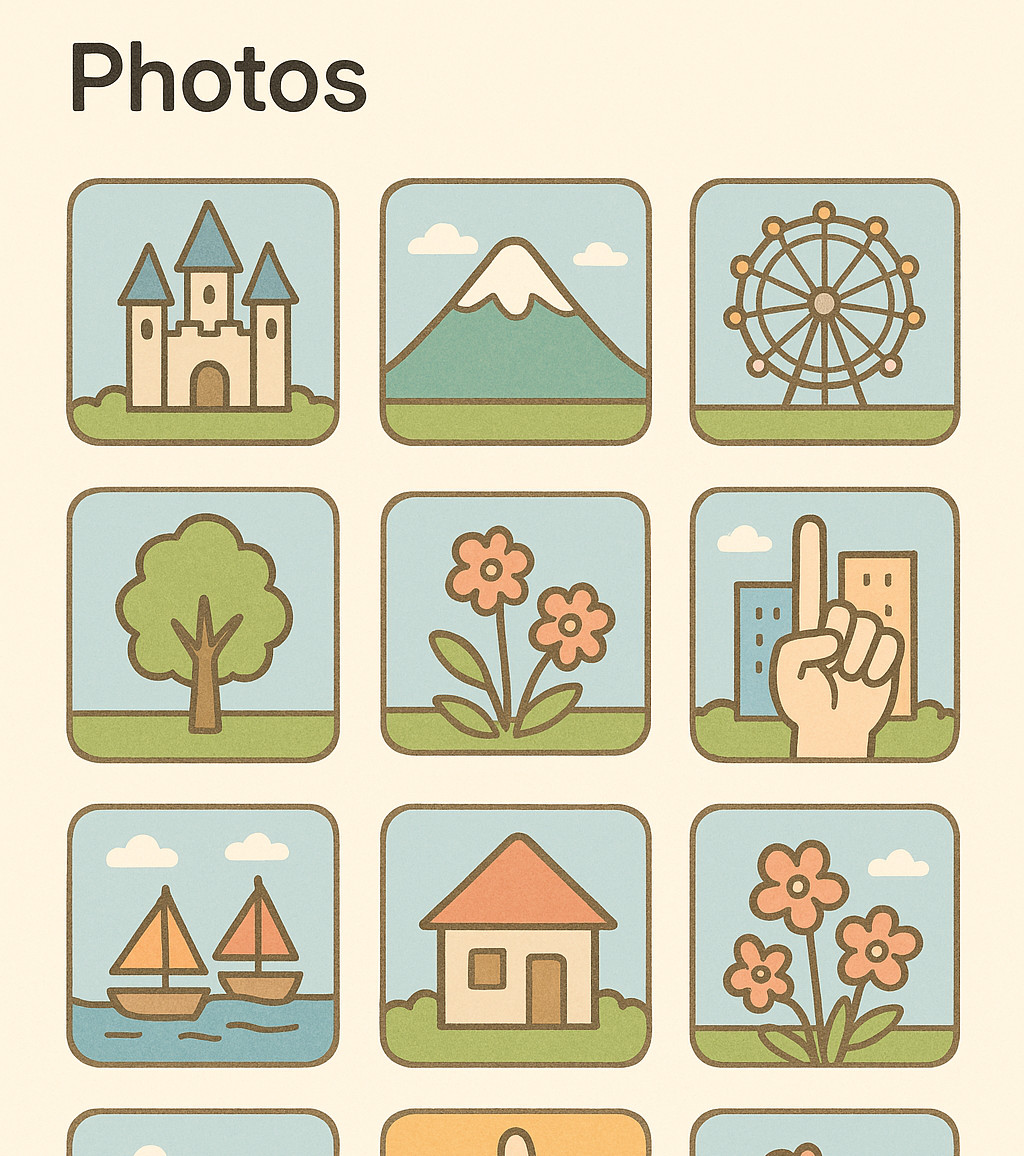
Categorize with Albums
The following apps all have album features:
- iPhone's "Photos" app
- Google Photos
By getting into the habit of adding photos to albums as soon as a shoot is finished, organizing them later becomes much easier.
Quick Trick for Busy Times: Memo Photos
When in a rush, taking photos with a finger as a marker is useful.
- Spot #1: Take a photo showing one finger
- Spot #2: Take a photo showing two fingers
This makes it easy to later identify, "Photos after this are from Spot #1," allowing for quick sorting.
In Conclusion
Shooting AR projects involves a lot of movement, shooting, and editing, but with a little creativity, you can comfortably manage it all on just your smartphone. I hope this guide is helpful for anyone looking to start AR shooting or improve the efficiency of their location shoots.
Reference Links
- Ministry of Land, Infrastructure, Transport and Tourism, "Selfie Stick Prohibition Pictograms" https://www.mlit.go.jp/kankocho/responsible-traveler/dl/pictogram-001.html
- https://support.apple.com/ja-jp/guide/imovie/mov52b5a78a6/mac