Setting Up VPN on Apple Vision Pro to Access American Services: Trying Out Surfshark
This article is a translated version of my original post on Qiita. Original (Japanese): https://qiita.com/segur/items/6236fbb1ca20fe0ed5ba
Setting Up VPN on Apple Vision Pro to Access American Services
When I tried to watch 3D movies using the Disney+ app on my Apple Vision Pro, I encountered issues with playback. It appears that 3D movies are only accessible on the US version of Disney+, while the Japanese version doesn't support them.
Realizing I needed to connect to a US VPN, I've outlined the steps for setting this up as a reference.
Subscribe to a VPN Service
If you don't already have a VPN service, it's time to subscribe to one! Any VPN service that supports the IKEv2 protocol will do.
In my case, I was already subscribed to a service called Surfshark for another purpose, so I'll use it this time!
You can visit Surfshark's site here: https://surfshark.com/ja
The service provides comprehensive support in Japanese and offers a 30-day money-back guarantee, so you can try it out risk-free.
Download the IKEv2 Certificate to Vision Pro
Let's download the IKEv2 certificate to your Vision Pro!
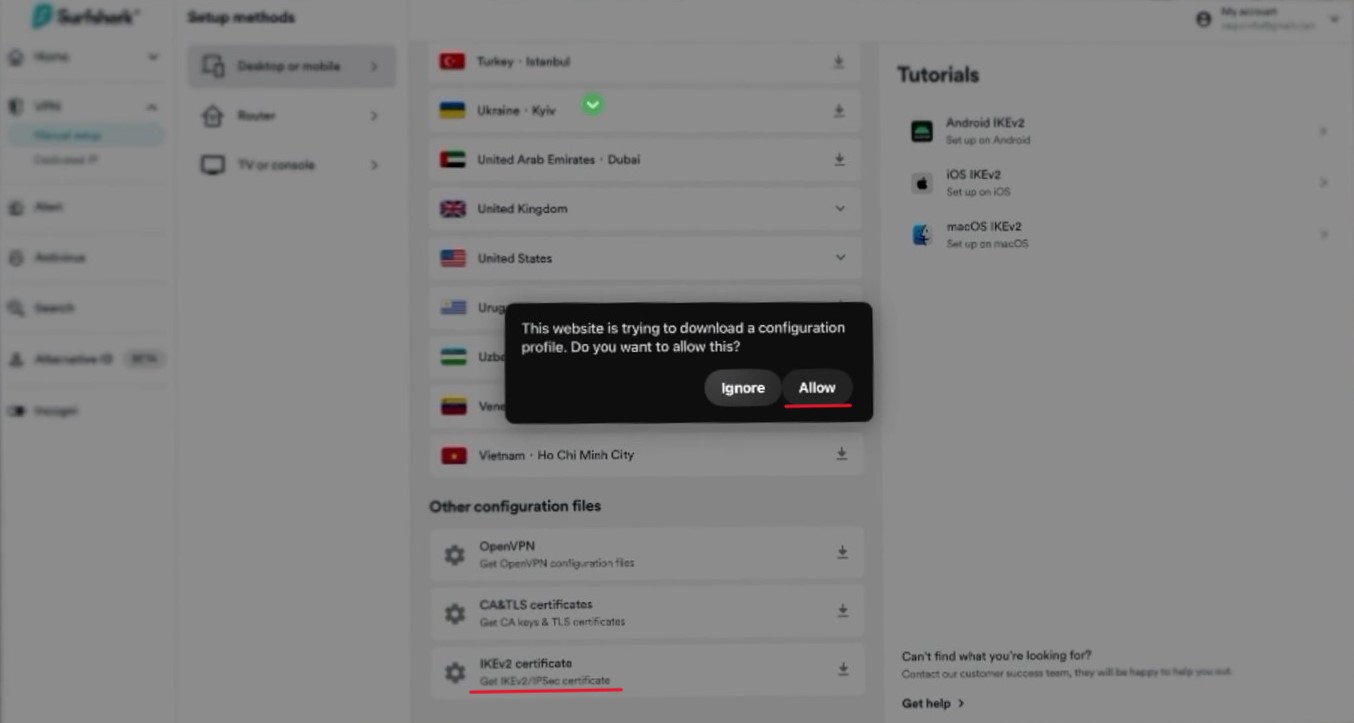
For Surfshark users, log into Surfshark on Safari on your Vision Pro. Then, navigate to VPN > Manual setup > Desktop or Mobile > IKEv2 > Locations.
Scroll to the bottom to find IKEv2 certificate, and click on it.
You'll be prompted with a warning asking if you allow the download—click Allow.
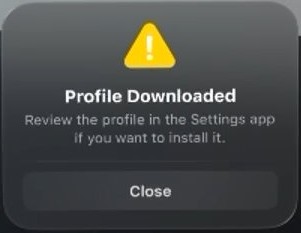
If you see Profile Downloaded, it's a success! Click Close to exit.
Install the IKEv2 Certificate on Vision Pro
Now, let's install the IKEv2 certificate on your Vision Pro!
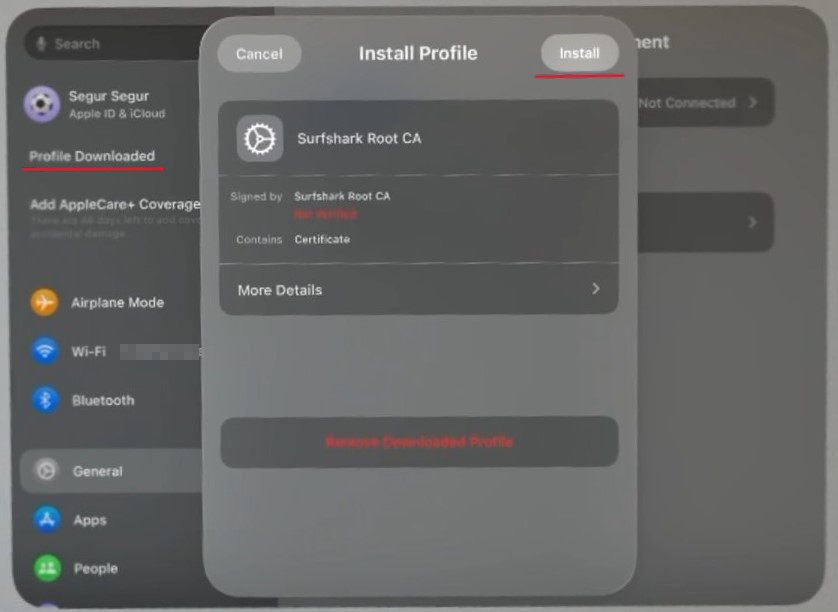
Open the Settings app, and you'll see Profile Downloaded on the left. Click it. (This option only appears right after downloading the certificate; if you can't find it, try downloading the certificate again.)
Click Install in the top right.
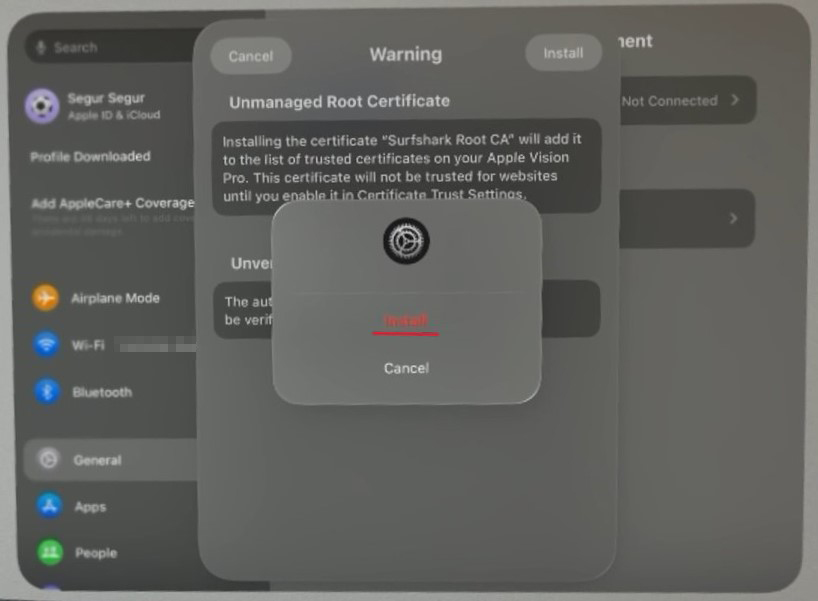
You'll get a warning about trusting the certificate. Again, click Install at the top right.
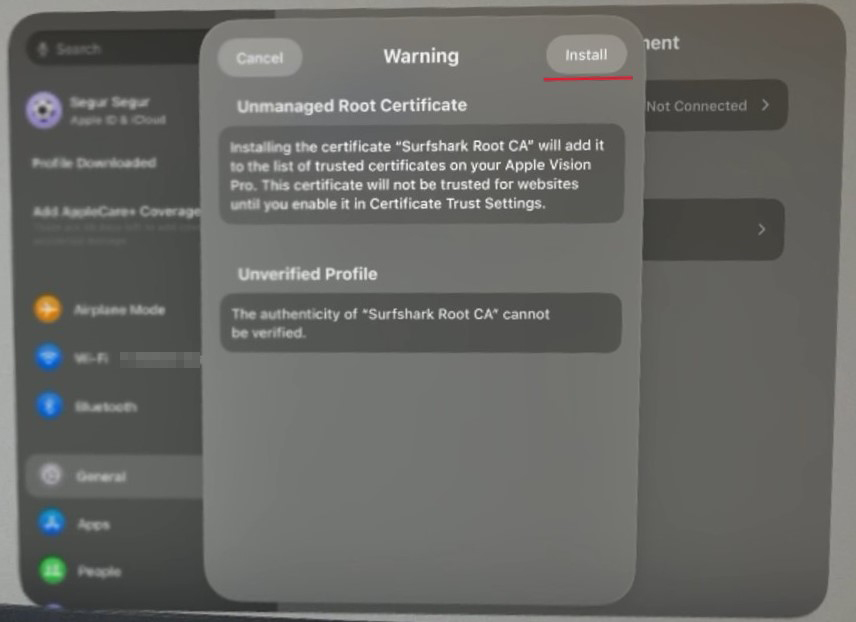
A dialog will appear where you'll need to click Install.
Once the installation is complete, a Profile Installed dialog appears. Click Done in the top right to close.
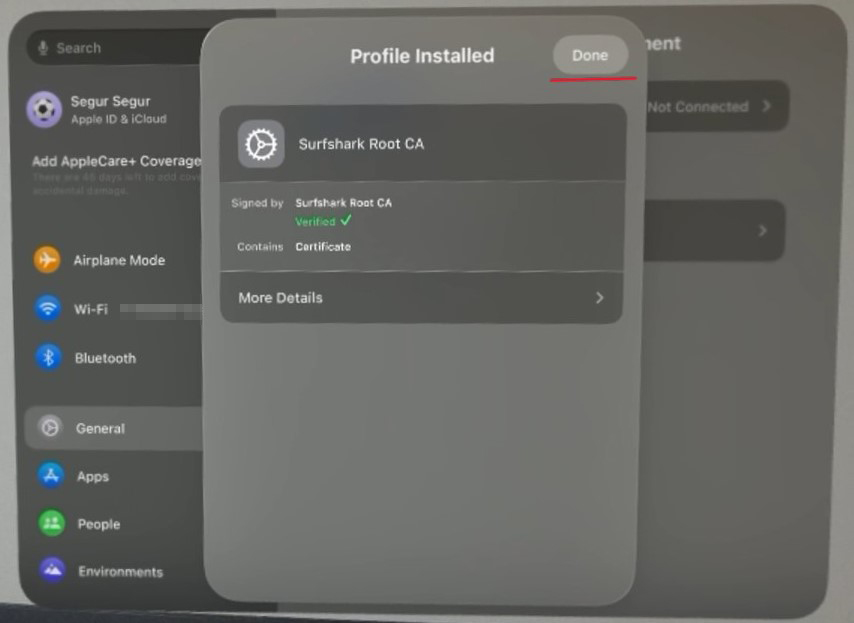
The certificate installation is now complete!
Configure VPN Connection
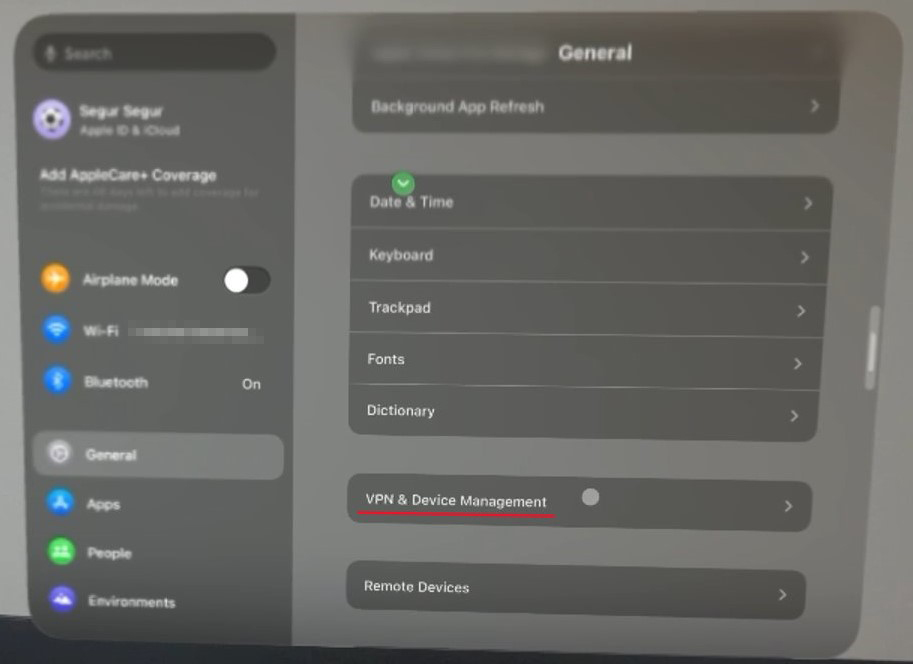
Open Settings on your Vision Pro, and click General > VPN & Device Management.
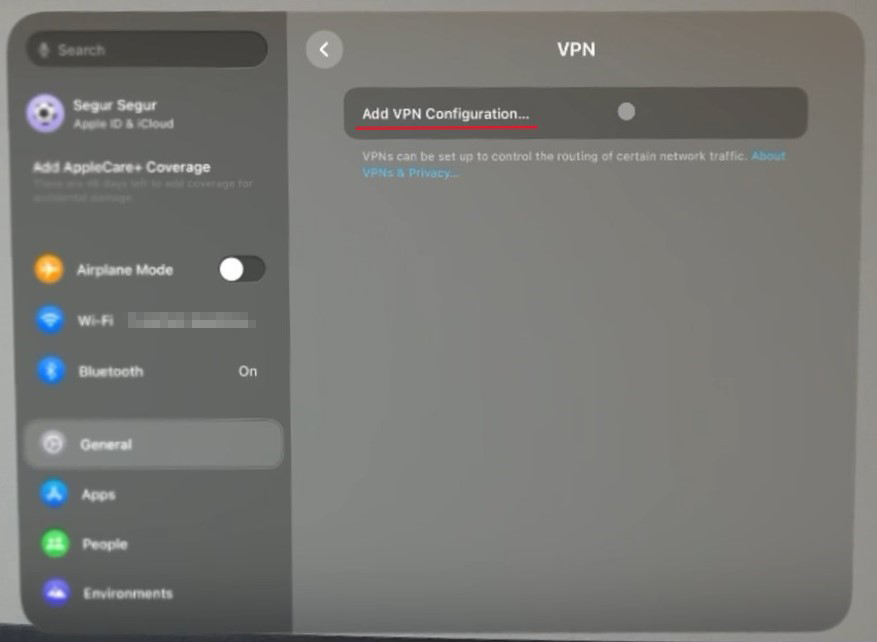
Click on VPN.
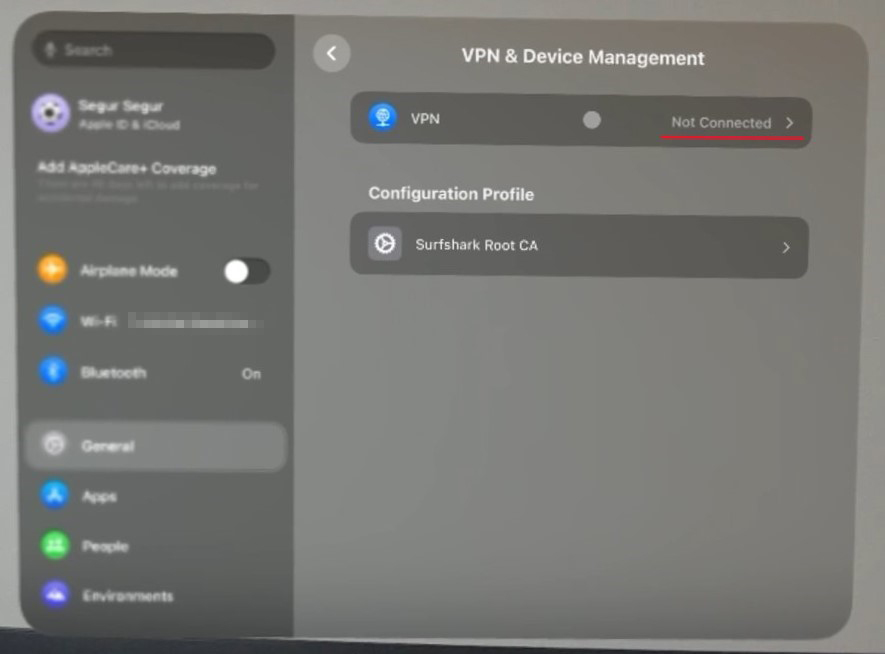
Then click Add VPN Configuration....
In the Add Configuration dialog, enter the necessary values.
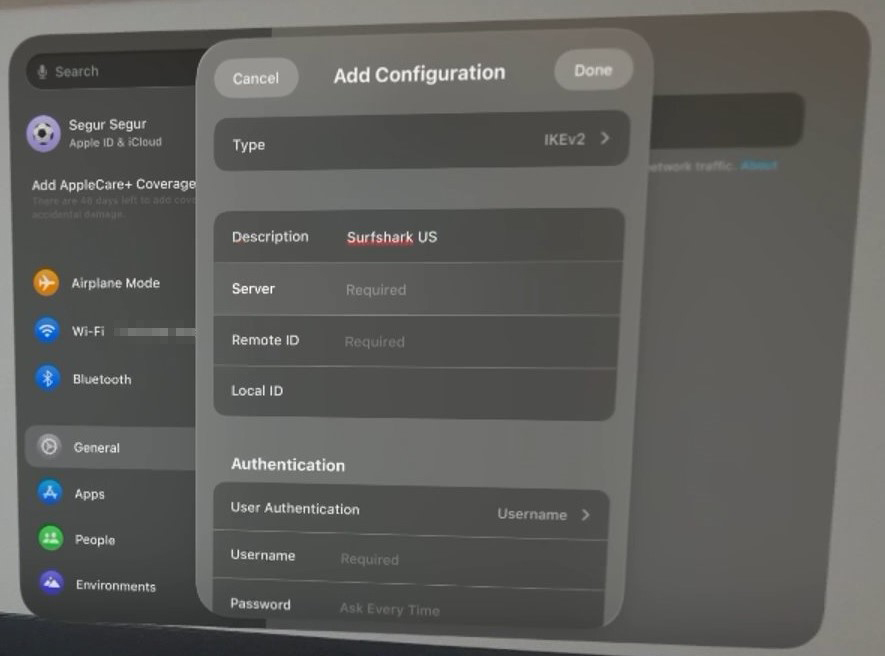
For Surfshark users, log in to Surfshark and navigate to VPN > Manual setup > Desktop or Mobile > IKEv2 to get all the values you need!
| Item Name | Setting Value |
|---|---|
| Type | IKEv2 |
| Description | Any name you like. Example: Surfshark US (US indicates a VPN in the USA) |
| Server | For Surfshark, go to VPN > Manual setup > Desktop or Mobile > IKEv2 > Locations, and choose one from USA, then copy the Server Address value. |
| Remote ID | Same as Server |
| Local ID | Leave blank |
| User Authentication | Username |
| Username | For Surfshark, go to VPN > Manual setup > Desktop or Mobile > IKEv2 > Credentials > Username, and copy the value. |
| Password | For Surfshark, go to VPN > Manual setup > Desktop or Mobile > IKEv2 > Credentials > Password, and copy the value. |
Once everything is entered, click Done at the top right.
Toggle VPN Status to ON!
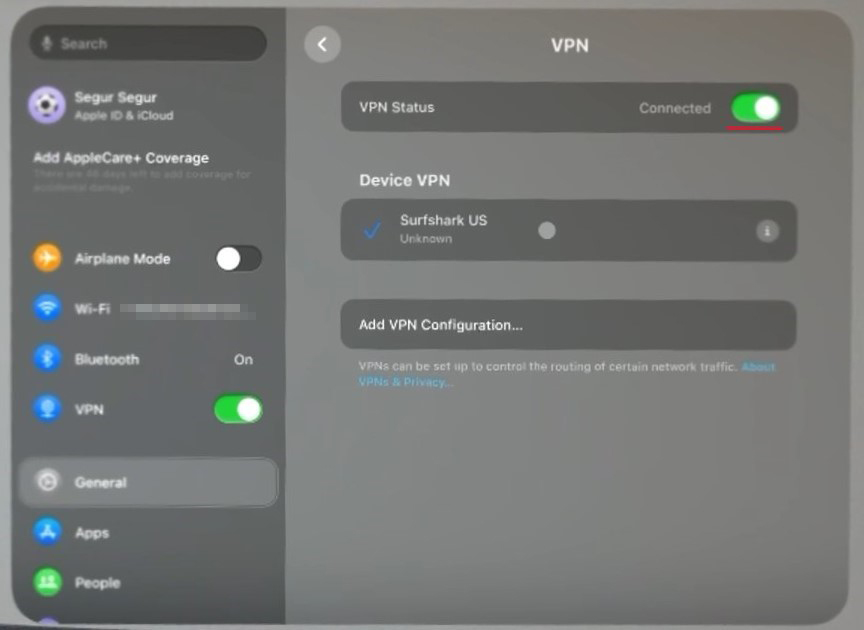
Your VPN connection is now configured!
Verify Your IP Address is American
Let's check if your IP address is set to the USA!
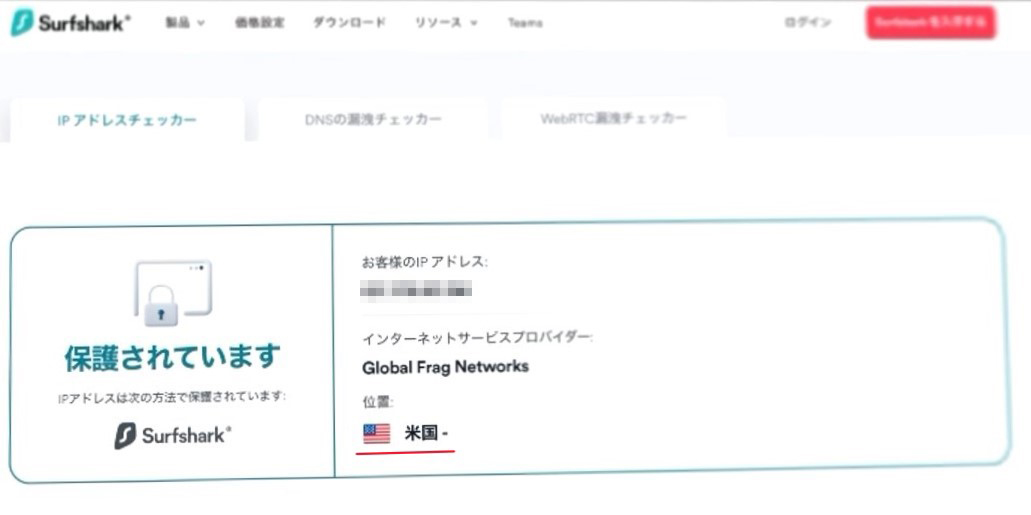
Open the following site in Safari on your Vision Pro: https://surfshark.com/ja/what-is-my-ip
If Location shows USA, then it's a success!
Disconnect the VPN
If you wish to disconnect the VPN, simply open the Settings app and toggle VPN on the left side to OFF.
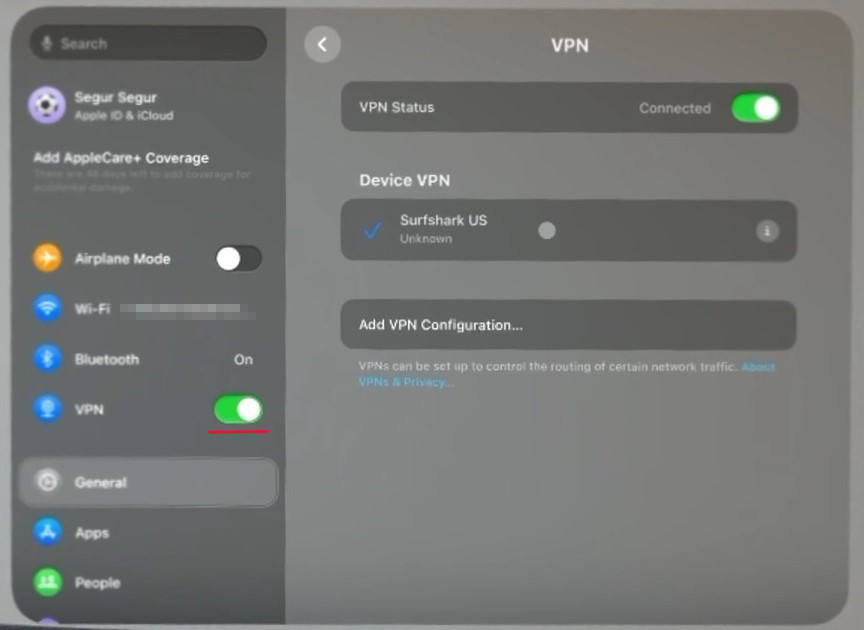
In the future, you can connect to the VPN simply by toggling this switch to ON!
Conclusion
This article was informed by the following resources—thank you for the helpful guides!
- https://surfshark.com/ja/blog/ikev2-vpn
- https://support.surfshark.com/hc/en-us/articles/360006636013-How-to-set-up-IKEv2-manual-connection-on-macOS