How to Automate Testing of PlayMaker Processes with TestRunner
This article is a translated version of my original post on Qiita. Original (Japanese): https://qiita.com/segur/items/6841982a101ef6ae61b0
Testing processes created with PlayMaker manually by running scenes and visually confirming them can significantly inflate labor costs.
In this article, I will explain how to use Unity's standard TestRunner to automate testing of PlayMaker processes. This will help you reduce manual verification, effectively discovering bugs more efficiently.
Intended Audience for This Article
This article targets the following audiences:
- Those who have written C# test code using Unity TestRunner
- Those who have created scenes with PlayMaker for STYLY
- Those who understand basic PlayMaker usage
Example: Time Formatting Process
In this article, as an example, we want to test the process with the following specifications:
- Input: Race time in
floattype (seconds) - Output: Formatted race time in
stringtype (displayed with zero-padding up to milliseconds) - Process Name:
TimeFormatter
We have considered the following specific test cases:
| Input (float) | Expected Output (string) |
|---|---|
3 |
3.000 |
3.123456 |
3.123 |
To keep the explanation simple, there are only two test cases.
Creating the PlayMaker Process
1. Create a Working Folder
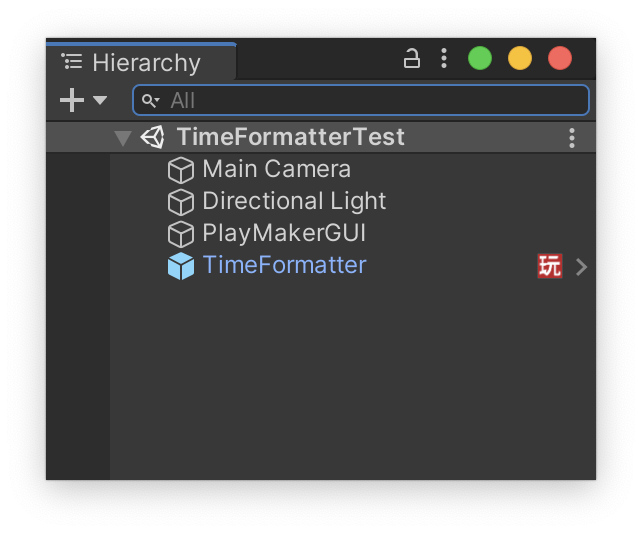
Create a folder named Assets/TimeFormatter and within it, make a scene called TimeFormatterTest.
2. Create the TimeFormatter Object
Create a GameObject called TimeFormatter in the scene and attach a PlayMakerFSM to it.
3. Create Variables
Create the following two variables in the Variables section.
| Variable Name | Type |
|---|---|
| InputNumber | Float |
| OutputString | String |
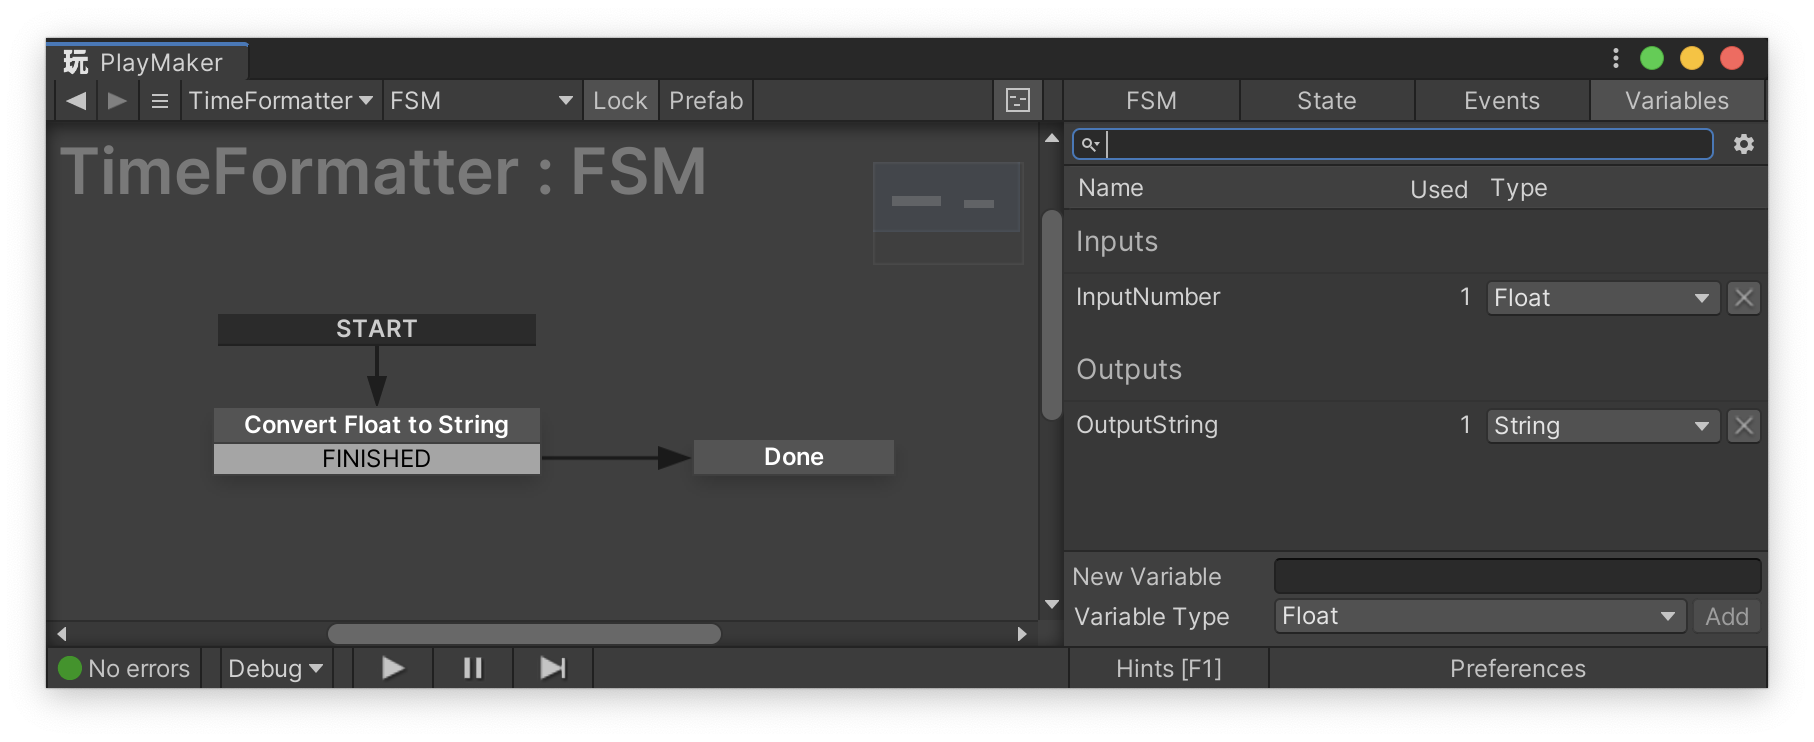
4. Build the State Machine
Create the process to format the seconds as shown in the diagram below, and make it transition to the Done state upon completion.
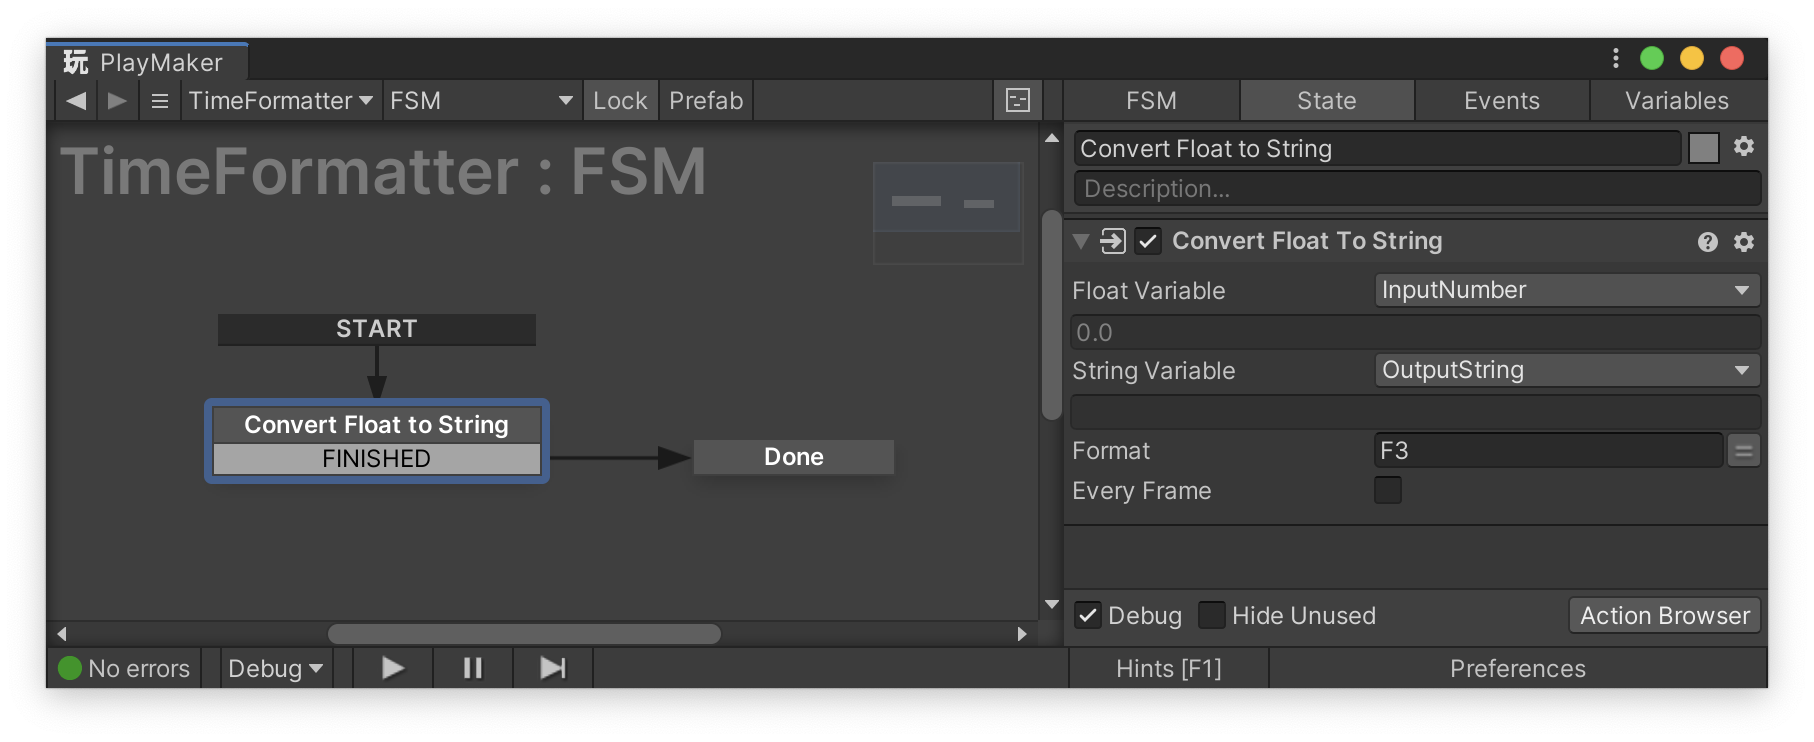
In this case, specify F3 in the Format field of the Convert Float To String action to achieve zero-padding display up to the third decimal place.
5. Disable the FSM
Disable the PlayMakerFSM of TimeFormatter as shown in the diagram below.
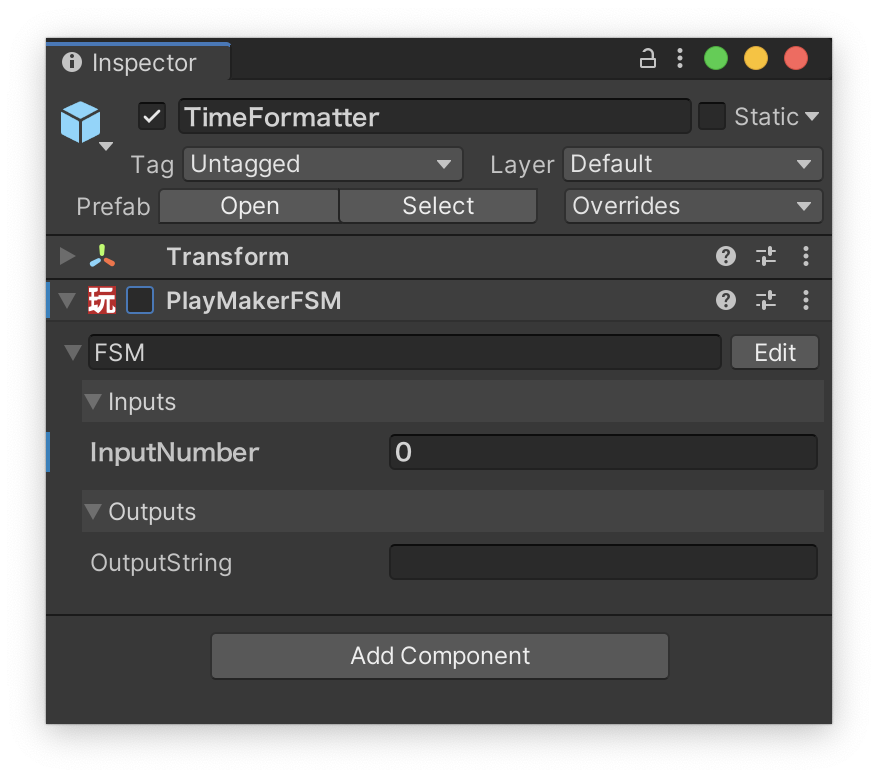
This prevents the FSM from auto-executing when loading the test scene. This is a test scene-specific setting, so if you are using prefabs, you do not need to override this setting.
Creating the Test Code
1. Create a Test Folder
Create a Tests folder under the working folder, and within it, create TimeFormatterTest.cs.
2. Implement the Test Code
using System;
using System.Collections;
using NUnit.Framework;
using UnityEditor;
using UnityEditor.SceneManagement;
using UnityEngine;
using UnityEngine.SceneManagement;
using UnityEngine.TestTools;

namespace Segur.TimeFormatter.Tests
{
    public class TimeFormatterTest
    {
        private const string SceneName = "TimeFormatterTest";
        private const string GameObjectName = "TimeFormatter";
        private PlayMakerFSM fsm;

        [UnitySetUp]
        private IEnumerator Setup()
        {
            // Find the scene
            var guids = AssetDatabase.FindAssets("t:scene " + SceneName);
            if (guids.Length != 1)
            {
                throw new Exception("Scene name is not unique.");
            }

            // Load the scene
            var path = AssetDatabase.GUIDToAssetPath(guids[0]);
            EditorSceneManager.LoadSceneInPlayMode(path, new LoadSceneParameters(LoadSceneMode.Single));
            yield return null;

            // Find the FSM
            var gameObject = GameObject.Find(GameObjectName);
            fsm = gameObject.GetComponent<PlayMakerFSM>();
        }

        private IEnumerator RunTest(float inputNumber, string expectedOutput)
        {
            // Set the input variable
            fsm.FsmVariables.FindFsmFloat("InputNumber").Value = inputNumber;

            // Execute the FSM
            fsm.enabled = true;

            // Wait until the state is Done. Timeout after 5 seconds
            var elapsedTime = 0f;
            while (fsm.ActiveStateName != "Done" && elapsedTime < 5f)
            {
                yield return null;
                elapsedTime += Time.deltaTime;
            }

            // Validate the state. It fails if it times out
            Assert.That(fsm.ActiveStateName, Is.EqualTo("Done"));

            // Validate the output variable
            Assert.That(fsm.FsmVariables.FindFsmString("OutputString").RawValue, Is.EqualTo(expectedOutput));
        }

        [UnityTest]
        public IEnumerator FormatsWholeNumberCorrectly()
        {
            yield return RunTest(3f, "3.000");
        }

        [UnityTest]
        public IEnumerator FormatsDecimalNumberCorrectly()
        {
            yield return RunTest(3.12345f, "3.123");
        }
    }
}
In this test, we manipulate the FSM through PlayMaker's Variables and check if it produces the expected output.
Enabling PlayMode Test Settings
By default, if you do not create an asmdef, you will encounter reference errors with NUnit. However, you can resolve the error by changing the following settings.
Configuration Steps
Open ProjectSettings/ProjectSettings.asset in a text editor and change the following setting to 1:
playModeTestRunnerEnabled: 1
This allows you to run PlayMode Tests without asmdef. [^1]
[^1]: Enabling this setting might cause test codes to be included when building; however, considering the intended audience of this article (STYLY scene creators who won't create app builds), this shouldn't be a problem. Additionally, this issue can be avoided via symbol definitions.
Running the Tests
Open the PlayMode tab of TestRunner and execute the created tests.
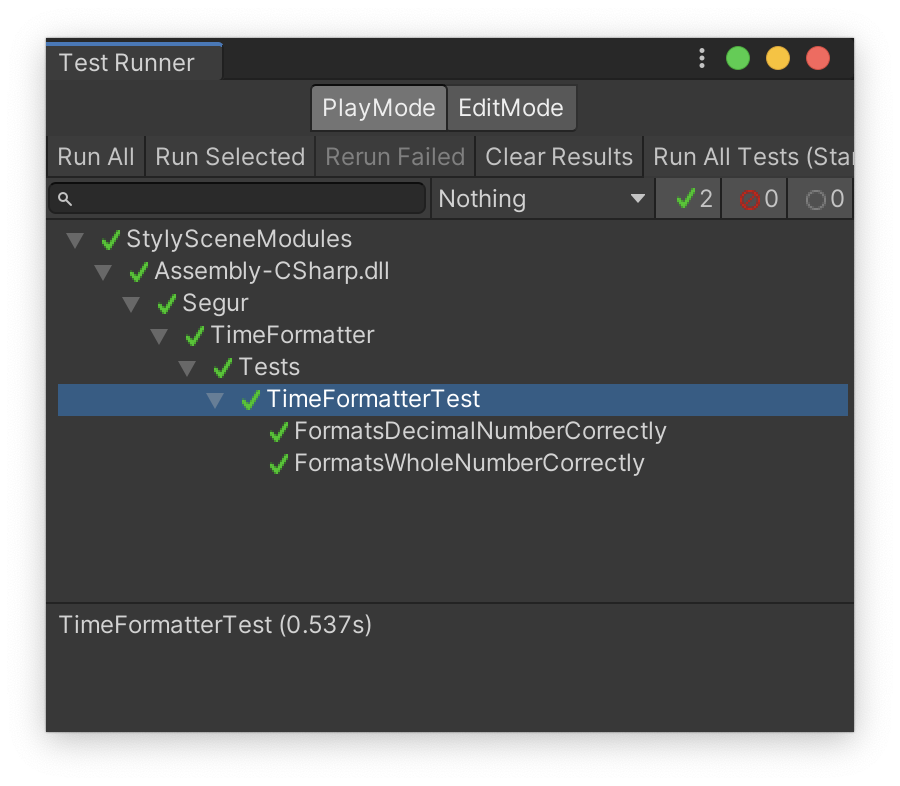
If all tests pass, you can confirm that the PlayMaker process is functioning correctly!
Congratulations on your hard work!
In Conclusion
The method described in this article is based on the idea devised by @kotauchisunsun. I would like to take this opportunity to express my gratitude. Thank you very much!