How I Passed the Unity Certified Programmer Exam in One Week
This article is a translated version of my original post on Qiita. Original (Japanese): https://qiita.com/segur/items/db3fecf170e67d7c739c
This article is a guest post for day 23 of the "Unity Loose Summer Advent Calendar 2019". Yesterday's post was @Sunmax0731's "Sensing with Unity and Mobile Devices".
How I Passed the Unity Certified Programmer Exam in One Week
Sorry for the title that sounds like a dubious self-help ad.
I recently took the Unity Certified Programmer exam. Since I tend to work best with a deadline, I set a one-week study period and then sat the exam.
This is the story of how that went.
Note: This is just my personal experience. Everyone learns at a different pace — there's no need to force yourself into a deadline. Study at your own pace!
Step 1: Register for the Exam
First, I signed up for the exam. This initial registration step might actually be the hardest part — it's all in English, which can be confusing.
Visit the official Unity certification page: https://certification.unity.com/ja/products/certified-programmer
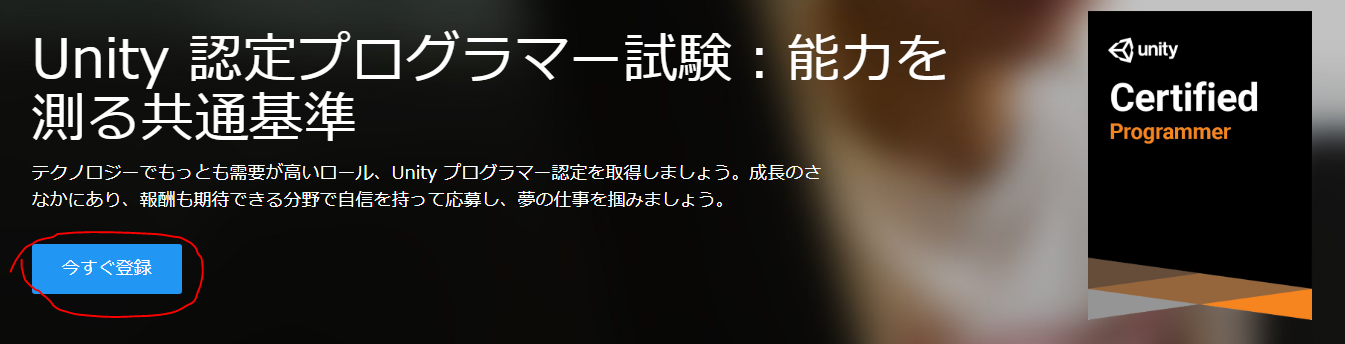
Clicking "Register Now" takes you to the Pearson exam registration site.
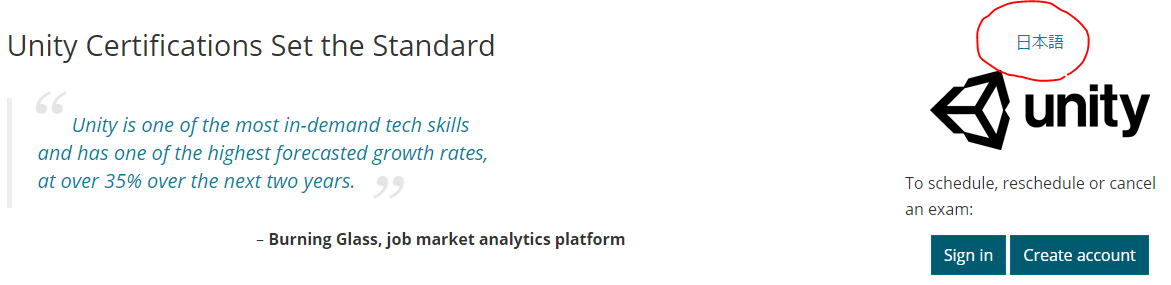
The site is in English by default, which can be daunting. But if you look on the right side, there's a "日本語" (Japanese) link — clicking it switches the entire site to Japanese!
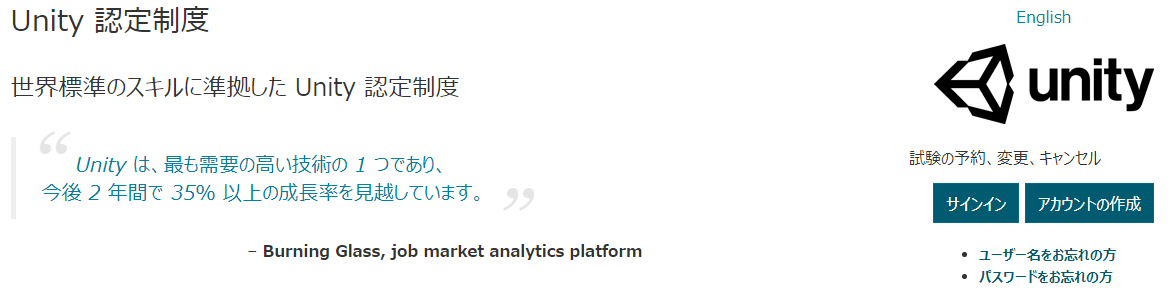
From there, create an account (or sign in), choose a test center and date, and complete the booking.
Test centers are available across Japan. I chose Shinjuku Station Ekimae Test Center 1, which offers exams almost every day — great if you want to take the exam quickly.
Step 2: Choose a Study Resource
On day one, I searched for study materials and found three options:
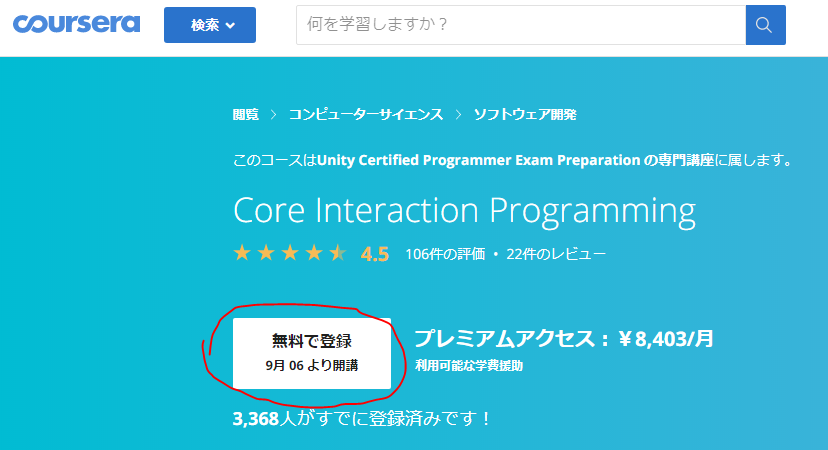
Coursera was offering a 7-day free trial, which perfectly matched my one-week study plan, so I went with Coursera.
The specialization has four courses, and I aimed to complete roughly 1.5 courses per day:
- Core Interaction Programming
- Application Systems Programming
- 3D Interactions and Navigation
- 3D Art and Audio Pipeline
Step 3: Focus on the Quizzes
I started the free trial for Core Interaction Programming.
Without going into too much detail about the content: the lessons use story-driven videos and written materials to explain Unity concepts in a very approachable way.
My impression was that these lessons are designed to train Unity engineers, not just to prepare you for the exam. Very well-made.
One catch: everything is in English. (There is a Japanese mode, but as of August 2019, only a small portion of videos and articles had been translated.)
After watching a few videos, short quizzes appear. These quizzes are the most exam-focused part of the courseware.
At first I watched all the videos, but with limited time I eventually switched to doing only the quizzes. I skipped the Unity project submission assignments as well. (Sorry, Coursera and Unity!)
Step 4: Game Industry English Was a Bit Tricky
The quizzes are also in English. There's no time limit, so I worked through them slowly with the help of a translation tool.
One word that tripped me up was "level." I had a fixed idea that "level" meant "a numeric value representing character progression," but some quiz questions used "level" to mean something like "terrain" or "game stage." I imagine it comes from calling the first stage "Level 1," which then generalized to mean the stage itself. (Just my speculation.)
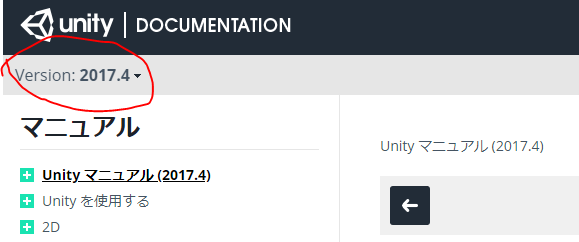
Step 5: Review Mistakes Using the 2017.4 Manual
Whenever I got a question wrong, I reviewed it using the Unity Manual (2017.4) and the Unity Script Reference (2017.4). Why 2017.4? Because the 2017.4 manual has extensive Japanese translations, while the latest version has many untranslated pages.
Step 6: Taking the Exam
My test center, Shinjuku Station Ekimae Test Center 1, was a short walk from Shinjuku's south exit toward Hatsudai. Very convenient.
Arriving at the center, there are several steps before you can start:
- Check-in (two forms of ID required)
- Filling out paperwork
- Taking a photo
- Storing all personal belongings in a locker (wallet, smartphone — everything)
Don't arrive right at your start time — there's quite a bit of pre-exam admin.
Once shown to the exam room, I sat at the designated desk and clicked "Start Exam" on the PC. A countdown began.
There were 60 questions with a time limit of 105 minutes. I went slowly and barely finished in time.
After clicking "End Exam," "Pass" appeared on the screen immediately!
I didn't quite understand what I was seeing at first, but then the joy gradually sank in.
Exam Content (General Impressions)
I won't go into specifics, but here's a rough sense of the types of questions:
- Read a spec and choose the best implementation
- Read buggy code and identify what bug it would produce
- Read code and identify what change would improve performance
General software development knowledge alone isn't enough — many questions required specific Unity knowledge. Thoroughly reading the Unity manual is key to passing.
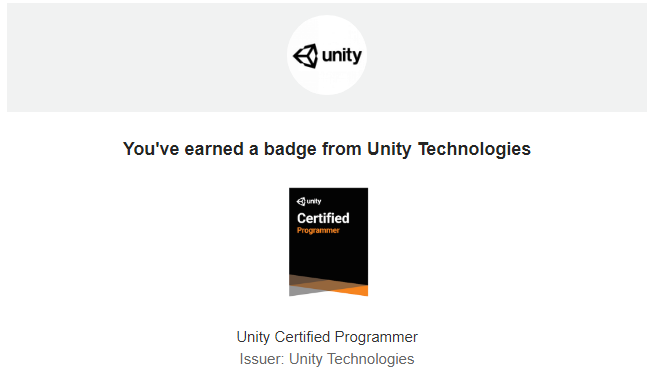
Step 7: Receiving the Certificate
After passing, I tried to download my certificate and badge right away, but it wasn't available immediately.
About three days later, I received an email — and was able to download the certificate at last!
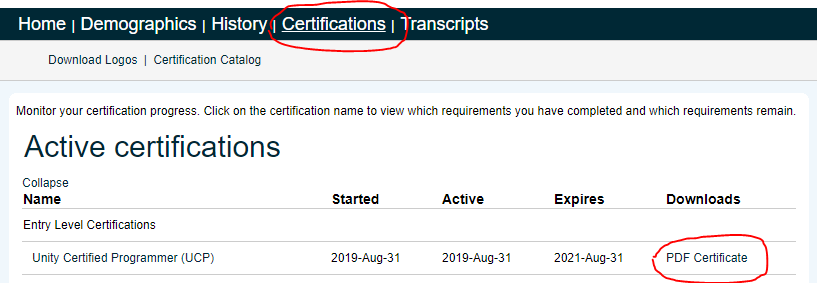
Downloading the Certificate
The process for getting the certificate was also a bit unclear, so I'm documenting it here.
First, log in to Unity Certification Platform using the link from the email. Click "Certifications" at the top, then click "PDF Certificate" on the right to download it.
Closing
I was relieved to pass. I immediately cancelled the Coursera free trial. (Sorry, Coursera!)
These articles were very helpful in preparing for the exam — thank you:
- Passed the Unity Certified Programmer Exam
- Unity Certification Script Study Scope and Personal Benefits of Passing
Day 24 of the "Unity Loose Summer Advent Calendar 2019" is by @reximology: "Tracing the Unity Internal Compiler".